This guide will help you to install Sitecore 9.1 for local environments.
Requirements
- IIS 8.5 or 10
- .NET Framework 4.7.2 or later
- OS Windows
- Windows Server 2012 R2 (64-bit) or 2016
- Windows 8.1 or 10 (32/64-bit)
- For Sitecore Identity Server: .NET Core Runtime 2.1.3 or later
- Microsoft Visual C++ 2015 redistributable
- Microsoft SQL Server 2017, 2016 SP2, 2014 SP2
- MongoDB Server 3.6.6
- Microsoft PowerShell® version 5.1 or later
- Solr 7.2.1
Solr Setup
Sitecore 9.1 XP requires Solr with SSL enabled. You can use this guide in order to create a self-signed certificate.
Check this quick guide on how to enable SSL on Solr.
Sitecore Installation Framework (SIF)
SIF is a module required to install Sitecore. If you want to know more about it, visit the Sitecore Developer site
First, we need to confirm which version of PowerShell is installed in our machine. Use the command $PSVersionTable to check the current version
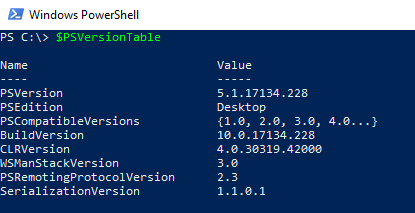
Here we can see that our current version is 5.1.* which is a prerequisite to install Sitecore 9.1.
Then, we need to execute the following scripts to install SIF successfully. Remember to open PowerShell in administrator mode.
# Register the Sitecore Repository
Register-PSRepository -Name SitecoreGallery -SourceLocation https://sitecore.myget.org/F/sc-powershell/api/v2
# Install the Sitecore Install Framwork module
Install-Module SitecoreInstallFramework
If you already have the SIF module installed and just want to update it. Use the following script:
# Update the Sitecore Install Framwork module
Update-Module SitecoreInstallFramework
You can also install Sitecore Fundamentals which is a PowerShell module that is used to configure security certificates and transport level security for Sitecore websites. Sitecore Fundamentals is automatically installed when you install SIF.
# Install the Sitecore Fundamentals module
Install-Module SitecoreFundamentals
In order to validate the installation, we can use the following command
# Validate the installation
Get-Module SitecoreInstallFramework –ListAvailable
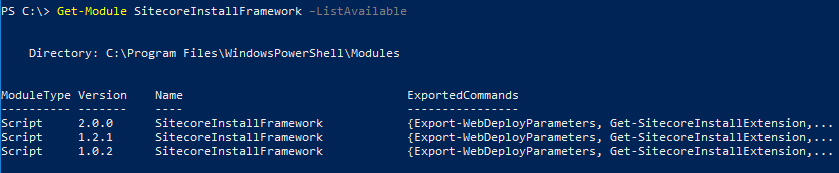
Here you can see the installed versions in the current machine.
Sitecore 9.1
Download Sitecore 9.1.0 rev. 001564 (WDP XP0 packages) from the Developer Site – select the Packages for XP Single (XP0) Instance configuration. This is the correct resource if you want to install it locally.
Create a folder under the root path (c:\). Extract the file and you will see four packages.
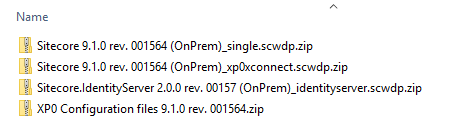
Extract, in the same folder, the file XP0 Configuration files 9.1.0 rev. 001564.zip which has the main configuration files.
Do not forget to paste your Sitecore license.xml file in the same folder.
First, we will need to install the prerequisites – this is one of the things new that differs from older Sitecore installations. Open PowerShell in administrator mode and navigate where your files were unzipped and execute the following command.
Install-SitecoreConfiguration -Path .\Prerequisites.json
Once it{s completed, a reboot might be needed.
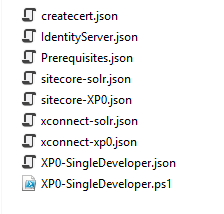
Next, you need to edit the script XP0-SingleDeveloper.ps1. Update each
line with the settings that are applicable to your environment.
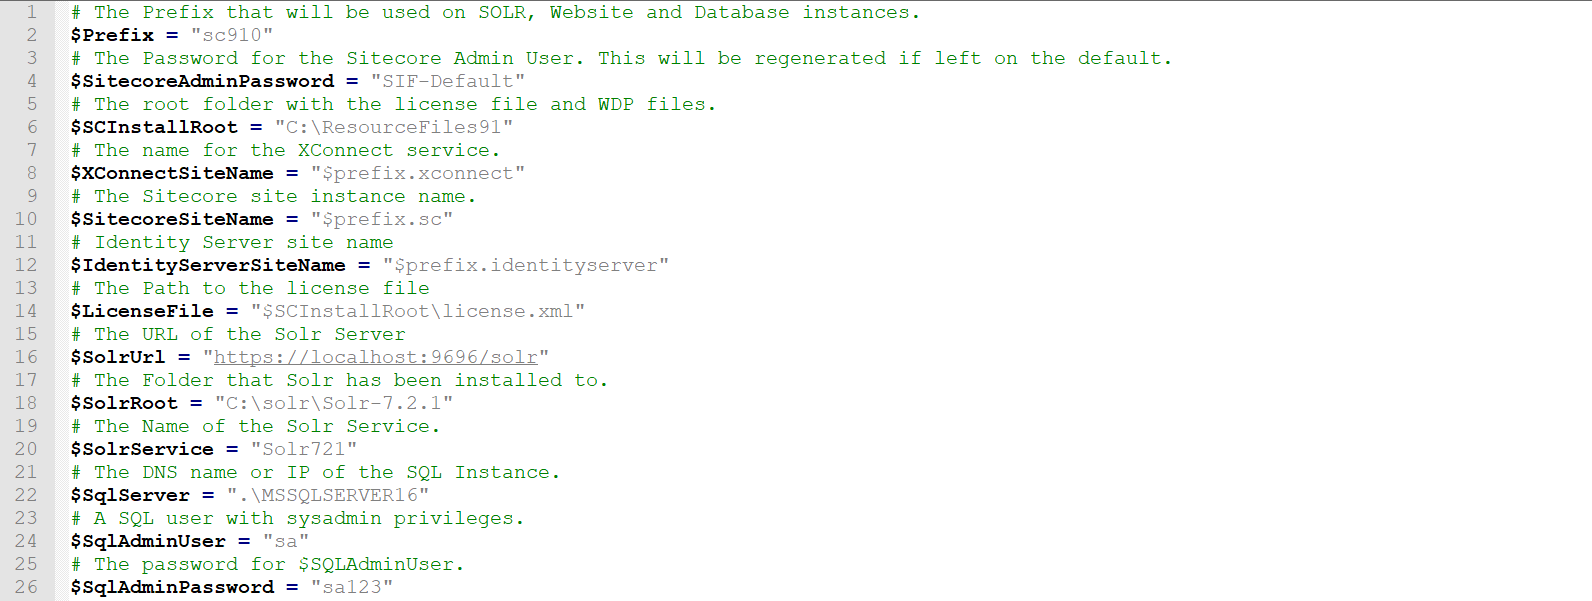
One of the settings you should consider changing is SitecoreAdminPassword. By default, it has “SIF-Default” which means that the admin password will be auto-generated. The admin password is not “b” anymore unless you specify it as its value
$SitecoreAdminPassword = “b”
Once you have confirmed all the values and saved the script, we will need to run that script.
![]()
It will take some time to complete the process but in the end, you will see the generated password.

You can also check the logs (XP0-SingleDeveloper.log)
[---------------------------- SitecoreXP0_UpdateSolrSchema : SitecoreUrl ---------------------------------------------]
[SitecoreXP0_UpdateSolrSchema]:[Authenticating] http://sc910.sc/sitecore/admin/PopulateManagedSchema.aspx?indexes=all
[SitecoreXP0_UpdateSolrSchema]:[Requesting] http://sc910.sc/sitecore/admin/PopulateManagedSchema.aspx?indexes=all
[SitecoreXP0_UpdateSolrSchema]:[Success] Completed Request

[----------------------------- SitecoreXP0_DisplayPassword : WriteInformation ----------------------------------------]
Sitecore Admin Password: JEw2fYRIbLU7ENMP1weQ
[TIME] 00:15:13
Finally, browse to your site, which is $SitecoreSiteName = “$prefix.sc” (i.e. http://sc910.sc/sitecore) and verify that Sitecore login page shows up.
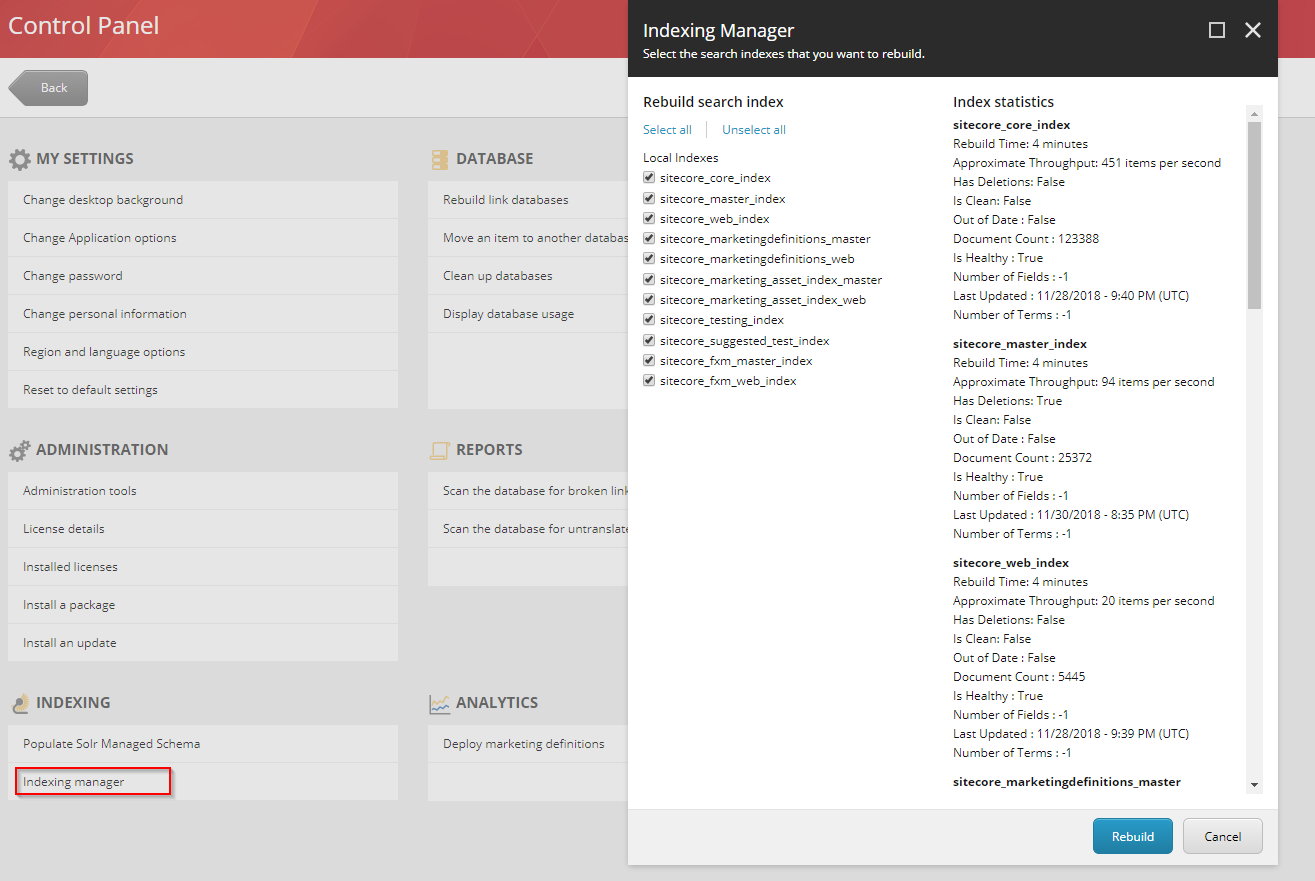
Go to the control panel and do these three important things:
1. Rebuild your indexes
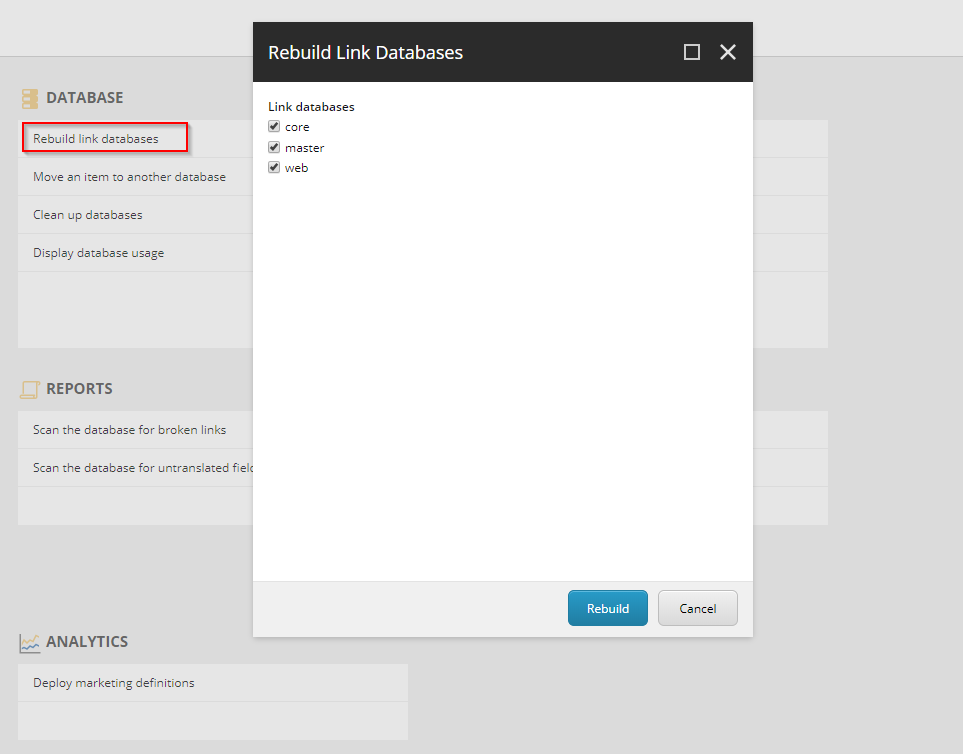
2. Rebuild link databases
3. Deploy Marketing definitions
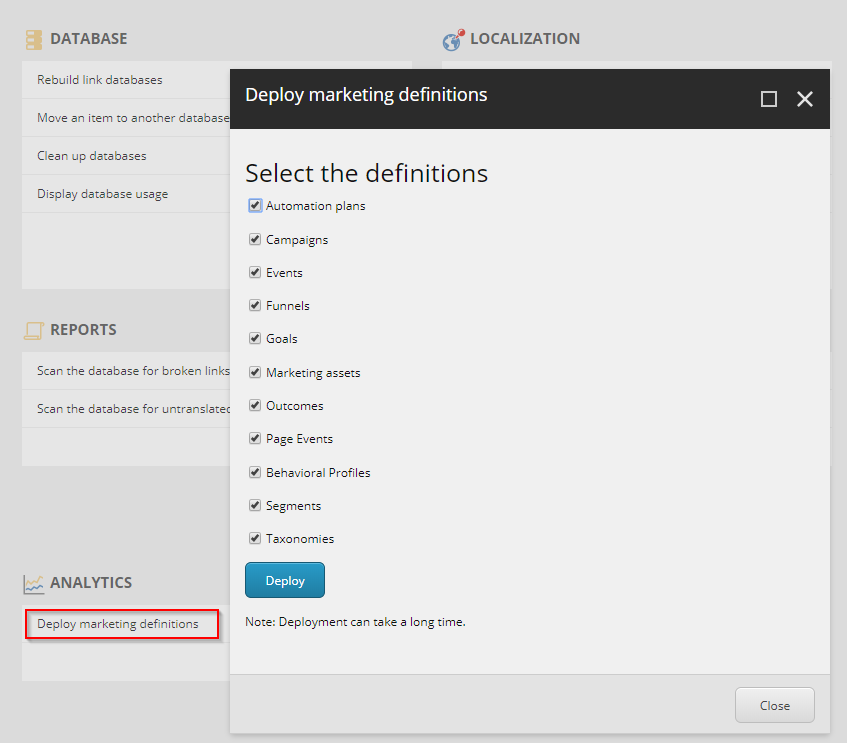
….and now you have Sitecore 9.1 up and running
Happy Sitecoring 😉
